
Reviewed · SAMURAI & KENDO EXPERIENCES
Kyoto: Ninja Weapon Forging Experience
Kyoto’s Ninja Weapon Forging Experience gives you something rare: the chance to handle hot steel, strike it with a hammer, sharpen it, darken it, and take home the finished piece. You are not simply watching a demonstration. You take part in nearly every stage under close instruction from Taka and his team.
I especially like the hands-on forging and the personal kanji engraving. The staff also make the session lively and easy to follow in English, with Taka often bringing a warm, comic energy to the workshop. The main drawback is access: although the studio is only a minute from Hieizanguchi Station, getting to that station can involve a bus or taxi ride from central Kyoto, plus a short uphill walk.
In This Review
- Key points to know before you book
- Why this Kyoto workshop is different
- Arriving at Hieizanguchi Station
- The opening ritual: samue, headband, and weapon choice
- Heating steel to 800°C
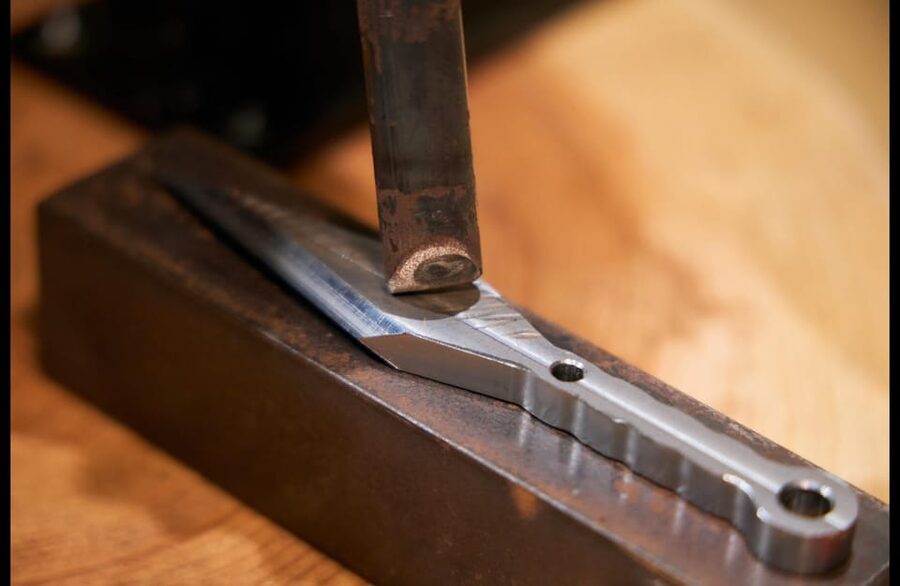
- Sharpening and sanding: where the shape appears
- Kanji engraving makes the piece yours
- Ninja history between the practical steps
- Blackening, polishing, and the final presentation
- Is $148 a fair price?
- Who will enjoy this most?
- Practical details that can save you trouble
- Should you book the Ninja Weapon Forging Experience?
- FAQ
- Where does the Ninja Weapon Forging Experience take place?
- How long does the activity last?
- How much does the experience cost?
- Which weapons can I make?
- Is the class taught in English?
- What is included in the price?
- Can I buy a sword at the studio?
- Can I take the finished weapon on my flight?
- Can I cancel my booking?
Key points to know before you book
- Real steel and a working forge: Watch the metal glow in an 800°C furnace, then hammer it into shape with guidance.
- Four weapon choices: Pick one of three shuriken styles, or choose a kunai for an additional ¥3,000.
- Your own kanji mark: Select a kanji character and have it engraved onto the finished weapon.
- A souvenir with a story: Your piece is blackened, polished, boxed, and ready to display at home.
- Friendly English instruction: Taka, Mits, Ako, Yok, and Daiki are among the staff praised for clear help and good humor.
Why this Kyoto workshop is different
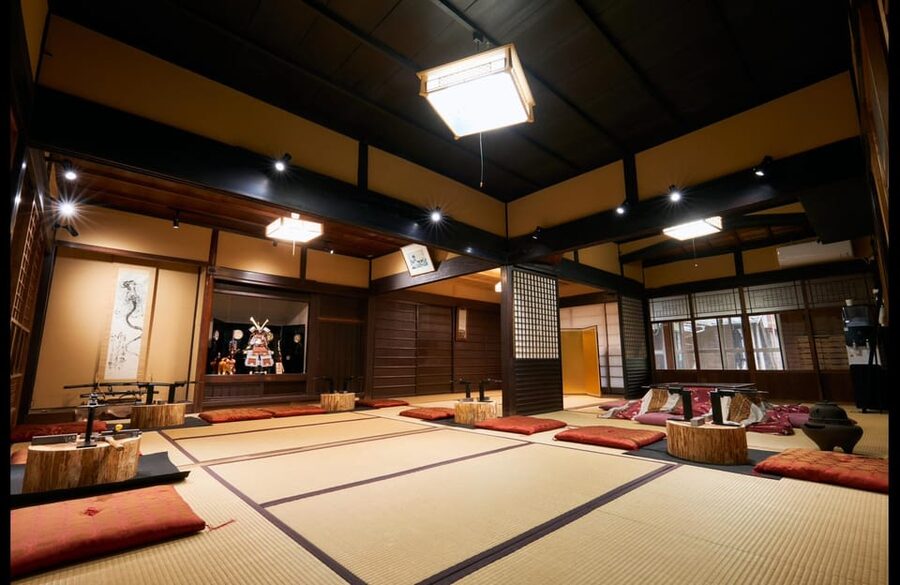
Kyoto offers plenty of cultural activities, but many are built around watching, tasting, or dressing up. This one asks you to work. You put on a samue, the loose traditional clothing associated with Japanese craftspeople, and wrap a tenugui around your head. It is a simple change, but it sets the tone. You feel less like someone passing through and more like an apprentice arriving for a task.
The workshop uses real steel and real blacksmithing tools. You will not produce a perfect historical weapon from raw metal in one afternoon, and the instructors provide the basic weapon shape to keep the session practical. Still, you take part in the key stages that give the object its character.
That difference matters. A souvenir bought in a shop may look impressive, but it has no connection to your own effort. Here, the hammer marks, sharpening work, engraved kanji, and dark finish become reminders of a particular afternoon in Kyoto.
A few more Kyoto tours and experiences worth a look

Arriving at Hieizanguchi Station
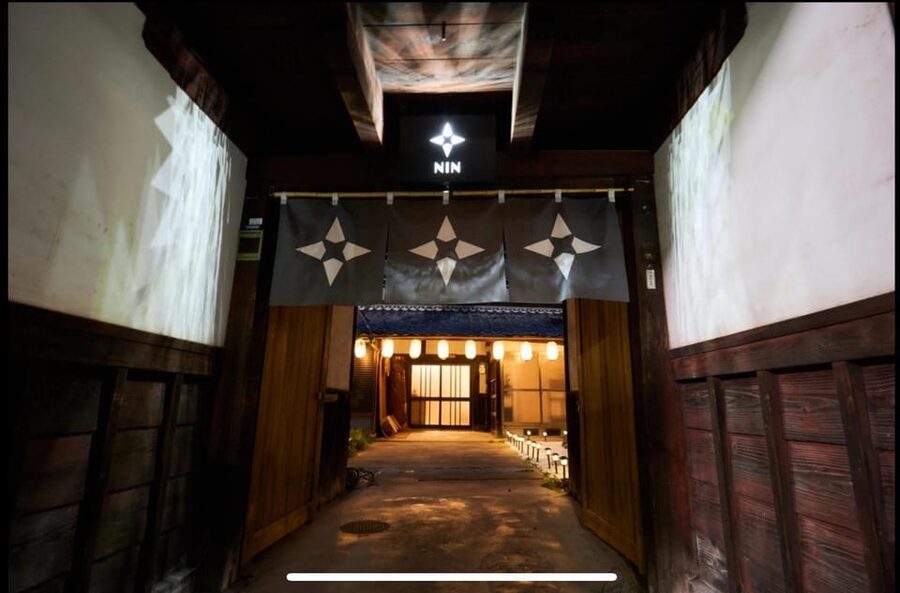
The meeting point is about a one-minute walk from Hieizanguchi Station. From the station, go up the hill toward the red postbox in front of the station. The walk is short, but it is not flat, so keep that in mind if you are carrying luggage or arriving after a full day of sightseeing.
The studio sits outside the busiest central Kyoto sightseeing zone. One participant described the ride from central Kyoto as taking about 40 minutes by bus, while another advised taking a taxi because public transport does not bring you close enough without a longer uphill walk. These details suggest a practical point: the studio is easy to find once you reach the station, but reaching the area may take planning.
That out-of-the-way setting is part of the appeal. The workshop is not squeezed into a crowded shopping street. You head into a quieter part of the city, change clothes, and spend a focused block of time on one craft.
Check the exact route from your hotel before booking. The advertised meeting point is clear, but the best transport choice will depend on where you are staying and the time of day.
The opening ritual: samue, headband, and weapon choice
After arrival, you change into the provided samue and complete the look with a tenugui head wrap. The instructors explain the session and introduce the weapon options.
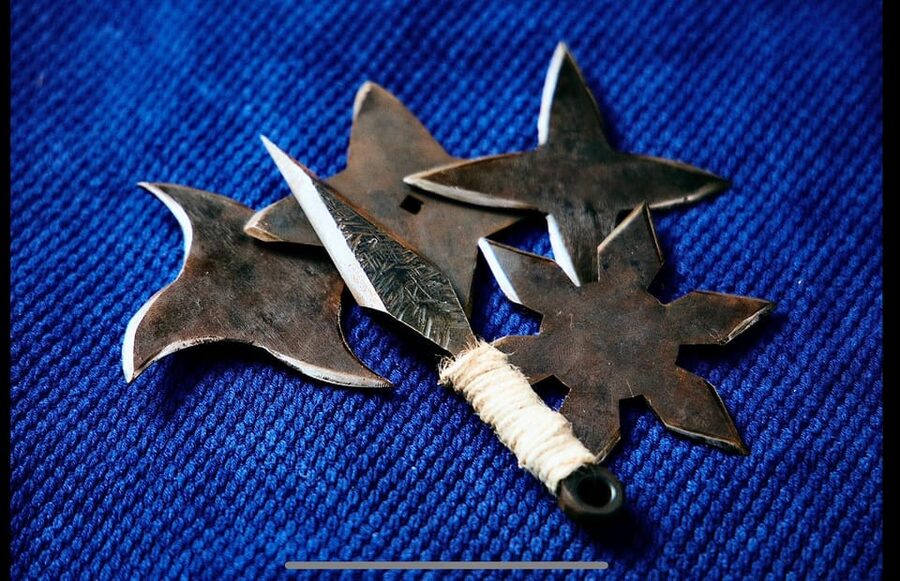
You can choose from three styles of shuriken. Each has a different shape and feel in the hand. A kunai is also available, but it costs an additional ¥3,000 to cover material and processing costs. You must select the kunai option when making your reservation, so do not assume you can switch to it casually on the day.
The shuriken is included in the listed price. If you want the kunai, factor the extra fee into your budget from the start. The choice is not simply cosmetic. It determines the shape you will work on and the final object you carry home.
This is also a good moment to think about display and transport. The finished pieces can be taken home on your flight, but only in checked luggage. They cannot go in your carry-on bag. If you plan to continue travelling after Kyoto, leave room in your suitcase.
Heating steel to 800°C
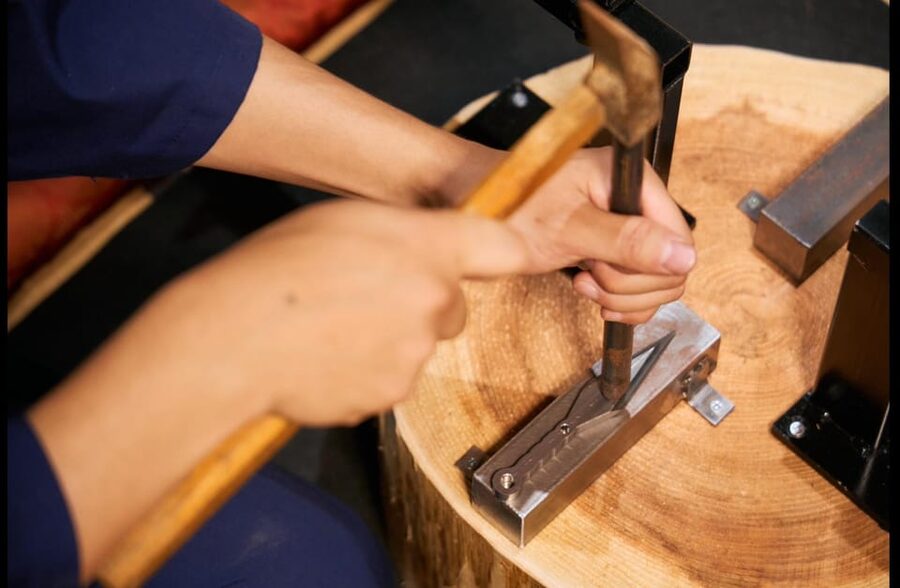
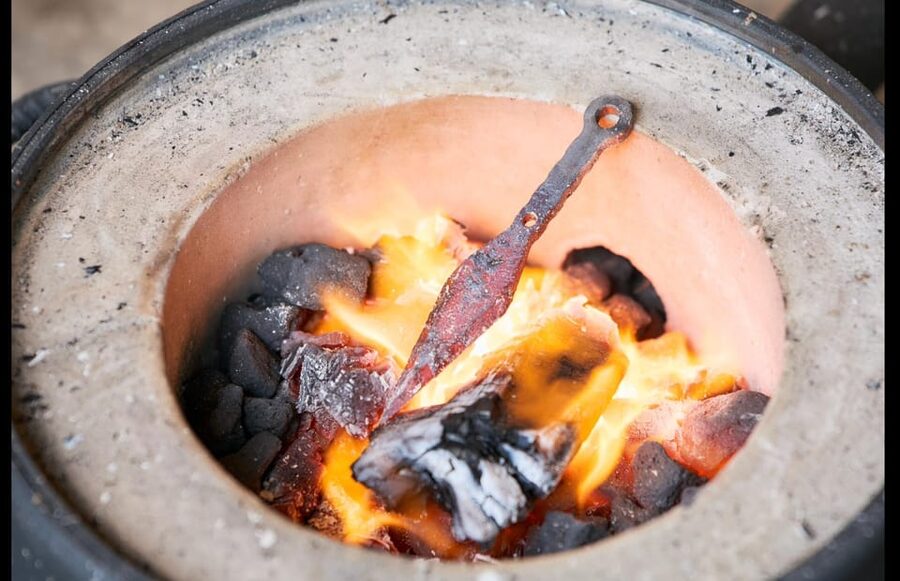
The forge is the dramatic center of the session. You watch the steel heat inside a furnace reaching about 800°C. Once the metal is ready, the instructor shows you how to use the hammer and where to strike.
The staff guide the process closely, which is important around hot metal and heavy tools. You get to make the blows yourself, but this is not a free-for-all. The instructors control the pace and help you understand how each strike changes the form.
The sound, heat, and sparks make this part memorable. It also gives you a better sense of what blacksmithing involves than a polished finished object ever could. The steel does not magically become a ninja weapon. It changes bit by bit through heat, force, and repeated correction.
Bring your phone or camera if you want photographs or video. The workshop specifically allows you to capture memories of the crafting process, and the forge makes some of the best images. Just follow the staff’s directions about where to stand and when to film.
A small limitation is worth noting. You take part in the forging, but the session is shared with other participants, so your time at the anvil may be guided and limited. One participant wished for more time hammering and forming the metal. If your main goal is a long, technical blacksmithing course, this is not that. It is a compact cultural workshop with a strong practical element.
Sharpening and sanding: where the shape appears
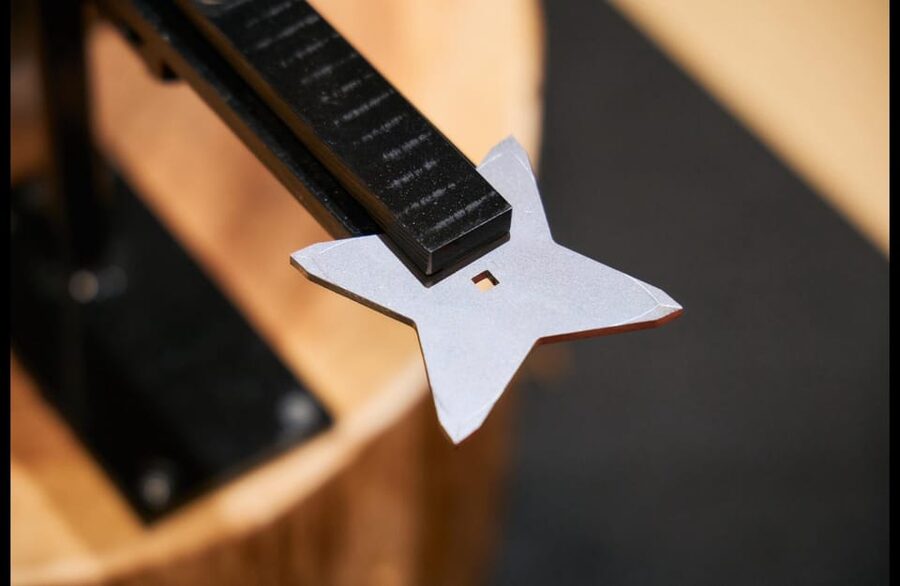
After heating and hammering, you refine the weapon with a professional belt sander. This is one of the most satisfying parts because the rough metal begins to look intentional.
The instructor explains how to hold and guide the piece safely. As you work, the edges and lines become cleaner. You can see the shape develop in front of you, which gives this stage a strong sense of progress.
The belt sander is also where the activity feels most different from a simple souvenir-making class. You are using a real workshop tool, not merely decorating a pre-made object. The staff remain nearby to help, and their step-by-step approach makes the process manageable for first-time participants.
You should expect guidance rather than complete independence. The finished result is created with your effort and the team’s corrections. That is a fair arrangement for a short class involving heat, steel, and powered equipment.

Kanji engraving makes the piece yours
Once the form is taking shape, you choose a kanji character for the staff to engrave. This gives the weapon a personal mark and adds a clear Japanese connection without requiring you to know advanced calligraphy.
Take your time choosing the character. The engraving is permanent, and it is one of the details that turns the object from a generic shuriken or kunai into your own keepsake. The engraving is done by a staff member with precision, while you watch the plain metal gain a personal signature.
The staff names that appear repeatedly in the experience include Taka, Mits, Ako, Yok, and Daiki, also written as Dike in one account. Taka is often the energetic lead, while the wider team helps with each stage. Yok is specifically praised for careful engraving work.
The language support is another strength. Instruction is provided in English, and the team explains each step before you try it. That matters here because safe tool use depends on understanding exactly what to do.
Ninja history between the practical steps
The workshop is not only about making an object. You also receive an introduction to ninja history, symbolism, and techniques. The historical talk gives the craft some context and helps explain why these tools have such a strong place in popular culture.
Keep your expectations grounded. This is not a full academic lecture on medieval Japan, and the information is woven into a practical class. That is likely a good balance for most people. You learn enough to understand the object, then return to the workbench before the afternoon turns into a classroom lesson.
I like this format because the information has a purpose. When you hear about ninja tools and then handle hot metal yourself, the subject becomes easier to remember. Children and teenagers can follow the history portion, while adults who already enjoy Japanese culture will have a physical activity to match their interest.
The staff’s style also helps. They are described as funny, patient, and engaging, with Taka singled out for his energy. The class is serious about safety and technique without becoming stiff.
Blackening, polishing, and the final presentation
After shaping and engraving, a special solution is applied to darken the steel and help protect it from rust. The black finish gives the weapon a more dramatic appearance and recalls the dark tools often associated with ninja imagery.
This step changes the mood of the object. Before blackening, you have a workshop piece with visible metal and fresh sanding marks. Afterward, it looks more finished and deliberate. You then polish the weapon, bringing out the areas that should catch the light.
The final polish is a useful reminder that good craft is not only about the dramatic moments. Heating the metal and striking it with a hammer are the parts you will talk about later, but the finishing work determines how the piece looks when you take it home.
Your completed weapon is placed in a beautiful box, which makes storage and presentation easier. Some participants also mention choosing a cord for the finished item. The exact finishing options can vary, so listen to the staff’s instructions during the final stage.
Replica swords are also available to buy at the studio for an extra fee. That is separate from the weapon you make and is not included in the $148 price.
Is $148 a fair price?
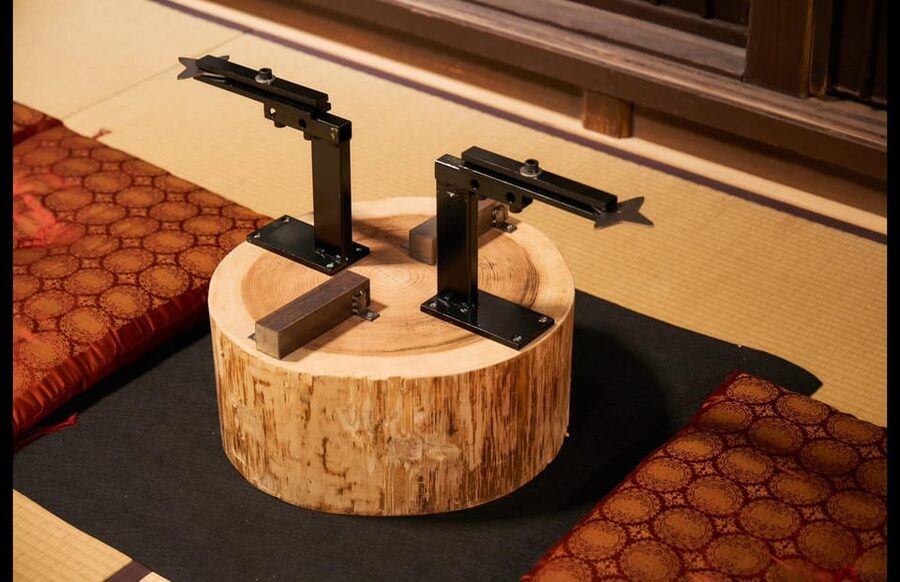
At $148 per person, this is not a budget activity. You are paying more than you would for a museum visit or a short craft demonstration. The value comes from the amount of direct participation, the English instruction, the supplied uniform and tools, the engraving, and the finished weapon you take home.
The price makes the most sense if you want an activity rather than another photograph. You spend around 150 minutes in the workshop according to the listed duration, though some participants describe the full experience as closer to three hours. Allow extra time in your day, especially if transport to and from central Kyoto takes a while.
The included shuriken improves the value. The kunai costs an additional ¥3,000, and replica swords cost extra if you want to buy one. Families should calculate the total carefully, since add-ons multiply across several people.
For a solo visitor, the activity can also be a social experience. One participant travelling alone made friends during the class and later went for drinks with them. That is not guaranteed, but the shared workbench and group format make conversation natural.
Who will enjoy this most?
I would recommend this for:
- People who want a physical, hands-on Kyoto activity
- Families with older children and teenagers
- Visitors interested in ninja culture and Japanese craft
- Solo travellers looking for a structured group experience
- Anyone who wants a souvenir made through personal effort
- Couples who prefer making something together to another temple visit
The activity has worked well for families with children as young as eight, according to one account, and for teenagers aged 11, 12, 15, and 17 in other groups. The instructors provide close help, but children should be able to listen carefully and follow safety instructions around heat and tools.
It may not suit you if you want a quiet, private lesson or a long period of independent forging. You may also prefer a different activity if you cannot check a sharp metal object on your flight.
The class is not limited to experts. First-time participants can take part because each stage is demonstrated and supervised. Your finished piece will not be a museum-quality historical weapon, nor is it meant to be. It is a personal craft object made through a guided process.
Practical details that can save you trouble
The class is conducted in English, and an instructor is included. Uniforms and tools are supplied, as is the weapon you make. The listed price is $148 per person.
You can cancel up to 24 hours before the activity for a full refund, and the booking option allows you to reserve now and pay later. Check the available start times when choosing your date because the session runs at set times.
Wear something comfortable underneath the samue. The forge is hot, and you will be moving between different work areas. The provided clothing is part of the experience, but sensible footwear and clothes that allow easy movement are still useful.
Plan your return journey before the class ends. The station is close to the studio, but the wider route may involve a hill, bus, or taxi. At night, the surrounding area has been described as quiet and peaceful, but do not treat the short station walk as proof that the whole journey from central Kyoto will be simple.
If you are flying home with the weapon, pack it in checked baggage only. Customs rules can differ by country, so check your destination’s requirements and declare the item when required. One family returning to Australia reported getting through customs after declaring the weapons, but that does not replace checking your own country’s rules.
Should you book the Ninja Weapon Forging Experience?
Book it if you want a memorable Kyoto souvenir that you helped make, rather than something pulled from a shop shelf. The forge, sharpening, kanji engraving, blackening, and polishing give the session a clear beginning, middle, and end. The friendly English-speaking team, especially Taka and his fellow instructors, keeps the pace welcoming.
The main cautions are the price, the possible three-hour commitment, the extra charge for a kunai, and the need to transport the finished weapon in checked luggage. If those points work for your itinerary, this is a strong choice for families, couples, solo visitors, and anyone who wants to do something more active than sightseeing.
FAQ
Where does the Ninja Weapon Forging Experience take place?
It takes place in Kyoto on Honshu, about a one-minute walk from Hieizanguchi Station. From the station, go up the hill toward the red postbox in front of the station.
How long does the activity last?
The listed duration is 150 minutes. Some participants describe the complete experience as taking closer to three hours, so allow extra time for the session and transport.
How much does the experience cost?
The price is $148 per person. A kunai requires an additional ¥3,000 fee.
Which weapons can I make?
You can choose one of three shuriken styles. You can also make a kunai by selecting the kunai option when booking and paying the additional fee.
Is the class taught in English?
Yes. The instructor language is English, and the staff explain the steps before you try them.
What is included in the price?
The price includes an instructor, the weapon-making class, a uniform, tools, and the weapon you make to take home.
Can I buy a sword at the studio?
Yes. The studio sells replica swords, but they are not included in the activity price and must be purchased separately.
Can I take the finished weapon on my flight?
Yes, but only in checked luggage. It cannot be carried onto the plane as carry-on luggage.
Can I cancel my booking?
You can cancel up to 24 hours in advance for a full refund. A reserve-now, pay-later option is also available.
More Samurai & Kendo Experiences in Kyoto
More tours in Kyoto we've reviewed







Samurai & Kendo Experiences, compared.
 ★ 5.0Kyoto Samurai ExperienceFrom $119
 ★ 4.9Kyoto: Kendo and Samurai Experience with Uniform and GearFrom $1032 hours
 ★ 4.5Skip the lines Basic Ticket at SAMURAI NINJA MUSEUM KYOTOFrom $28
 ★ 4.9Kyoto: Samurai Class, Become a Samurai WarriorFrom $70
 ★ 5.0Ninja 1-hour Hands-on Lesson by Japanese master in Kyoto -EntryFrom $80
 ★ 4.5Kyoto: Samurai Kenbu Traditional Sword Dancing ShowFrom $321 hour